Spek: a saturation plugin I built for my own mixes
A walkthrough of Spek, the saturation plugin I built for my own mixes: signal flow, parallel mode, mid/side, voicings, and where I use it on masters, drums and synths.
Notes
Spek is a saturation plugin I have been building for about six months, and it was on my own tracks and client masters well before this release. It is a waveshaper designed to push things further forward in a mix. It started from the Sonnox Inflator, which has been one of my favourite saturation tools for years, but I wanted more routing than the original gives you, and I wanted to do my own work on the shaping curves underneath.
The video above is the launch walkthrough. I run Spek on the master of my track Frequent Flyers, on a drum bus, and on Acid V pushed well into distortion. Below is the same ground in writing, with the signal flow laid out so you can dial it in without scrubbing through the whole video.
How the signal flow works
There are two paths. One is clean the whole way through. The other goes through the waveshaper, and Amount is the dry/wet between them.
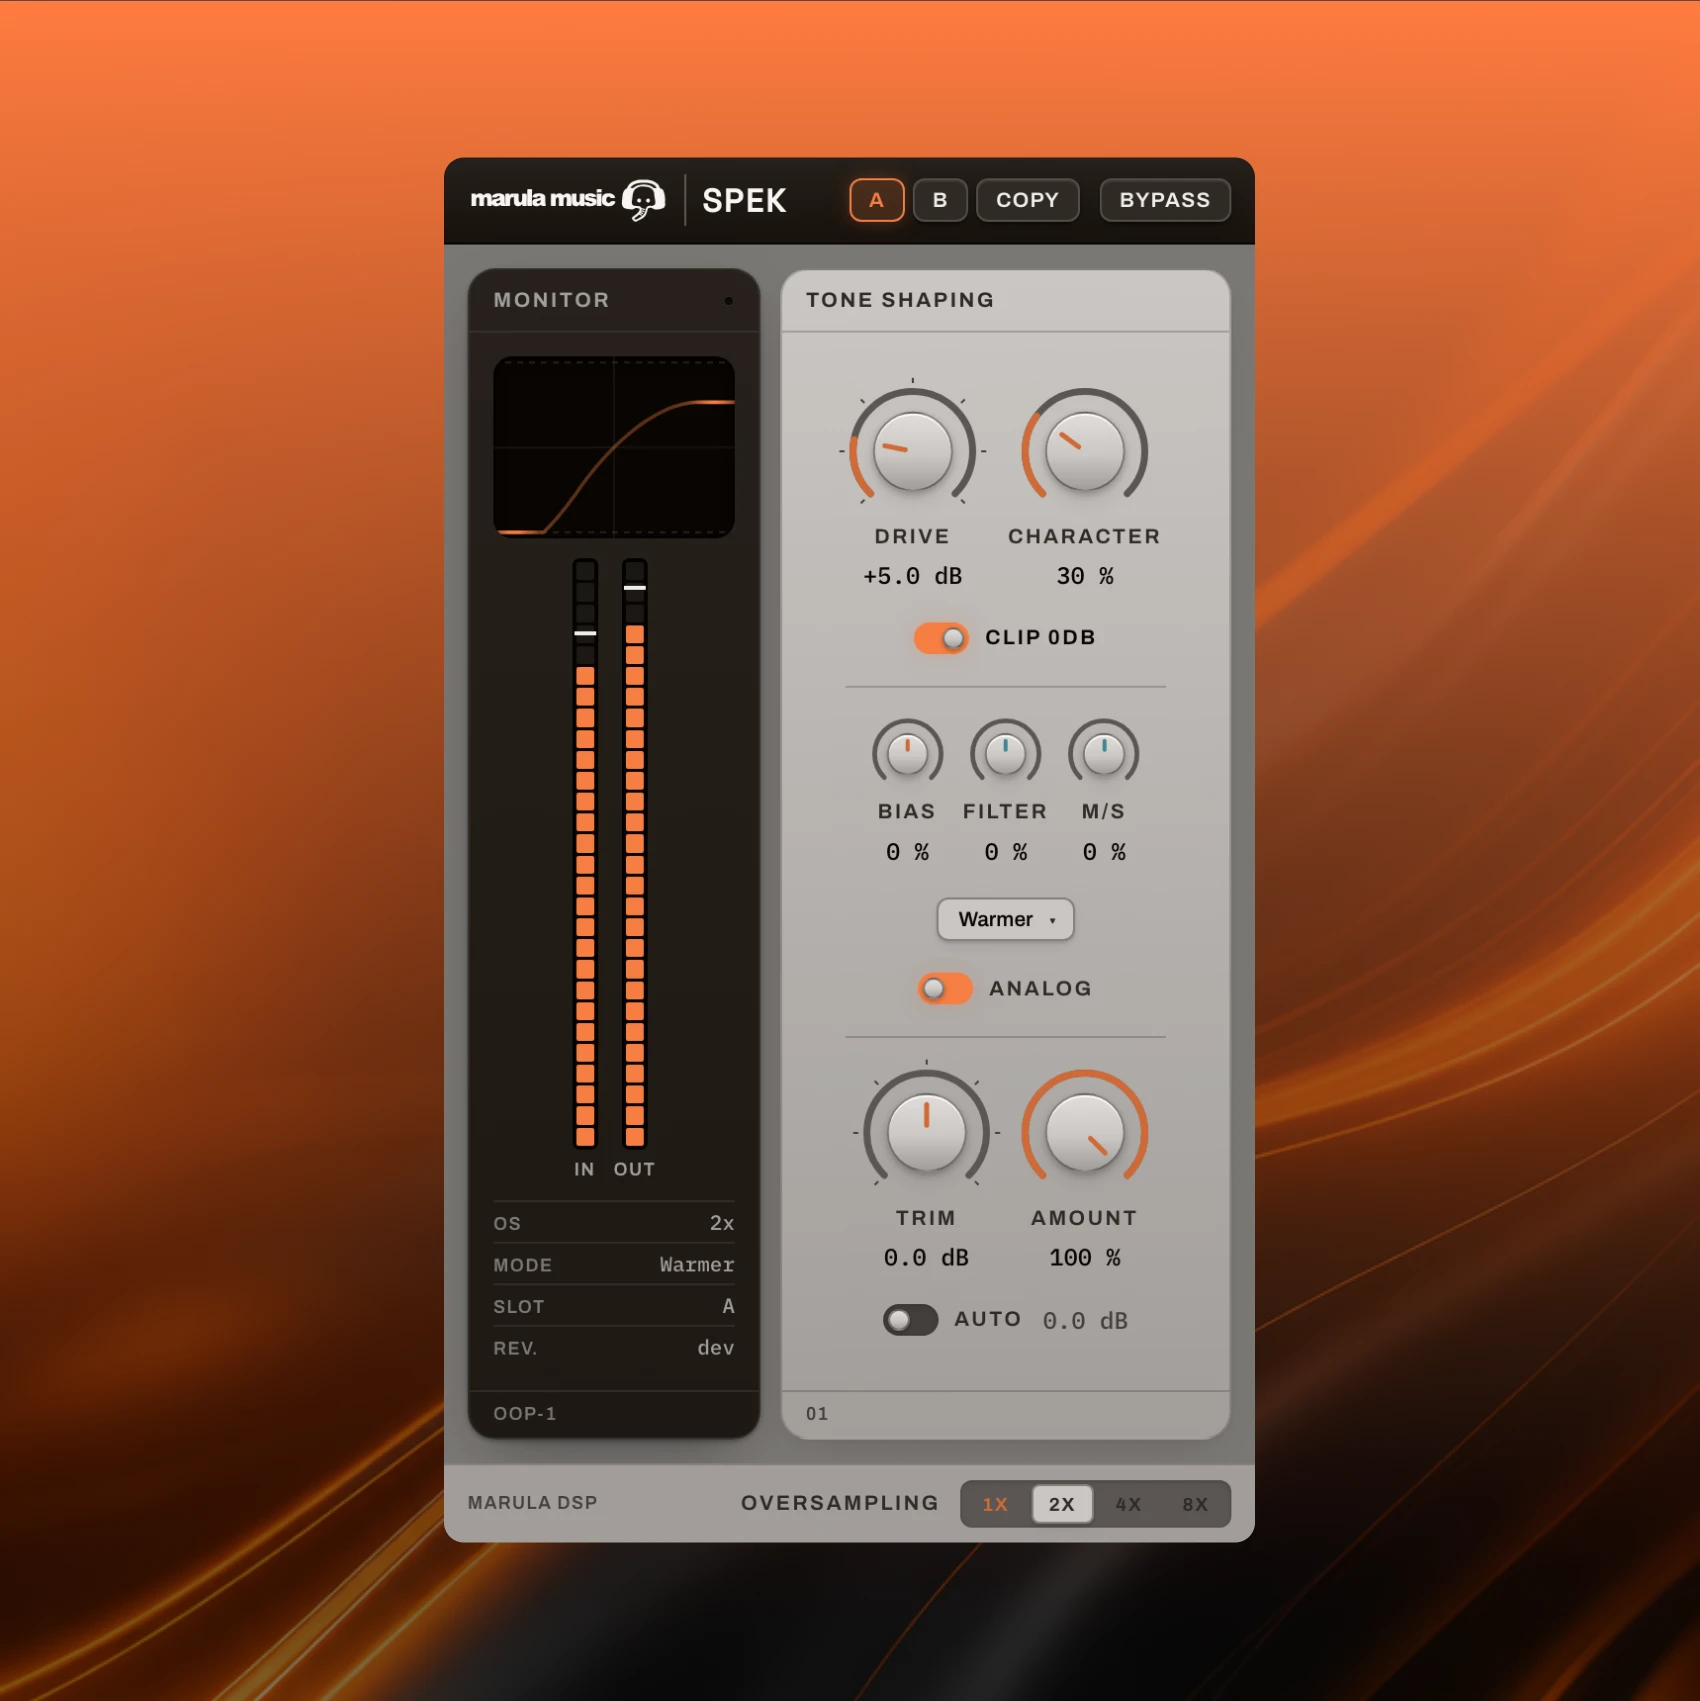
Character changes the shape of the waveshaping curve. At 0% very little happens even at full wet, and as you bring it up the curve bends further and the sound gets denser and more present. Drive pushes more level into the shaper, and the IN and OUT trims sit either side of it. At default it is subtle on purpose. A lot of what sounds "better" on the first pass is simply level, so trim the output to match bypass before you judge it.
The transfer-curve display highlights the part of the curve the incoming signal is reaching, so you can see how hard a source is hitting it. IN and OUT meters show peak and RMS, the OVER indicator latches if a peak crosses 0 dBFS, and A/B with copy lets you compare two settings on the same material.
There are no presets. What Spek should be doing depends entirely on what you send through it, and it is quick enough to dial in from default that a preset would mostly be something to undo.
Oversampling, and why only the shaper gets it
The original Inflator has no oversampling. Spek offers 1x, 2x, 4x and 8x. At 1x there is no oversampling latency. The higher settings reduce aliasing from the shaper, cost more CPU, and add a small delay that Spek reports to your host.
Only the waveshaper is oversampled. The mid/side matrix runs at the host rate, because a sum-and-difference matrix creates no new harmonics and has nothing to alias. I wrote about that design decision in Vibe Coding a Plugin: What AI Can Build, and What It Can't if you want the longer version.
Bias and Filter: choosing what gets saturated
Bias is a tilt EQ ahead of the shaper. One direction pushes more high end into the distortion and the other favours the lows. Filter sits after the shaper and cuts back whatever comes out of the distorted path.
At 100% wet neither sounds especially useful, because all you hear is the tilted, filtered signal. They make sense once Amount comes back down. At roughly 50/50 with Bias toward the highs, you are brightening the track by saturating its top end rather than boosting it with an EQ, and Filter takes the fizz off the result without touching the dry signal.
Mid/side and parallel mode
The M/S control routes the shaped path through mid/side before it hits the waveshaper, so the saturation can be focused on the centre or the sides. Once you are biasing and routing M/S at the same time, Amount as a dry/wet blend starts working against you, because every move toward the wet signal also takes something away from the dry.
Parallel mode, the PAR switch, fixes that. The dry signal is left completely alone and Amount becomes a volume control for the shaped path, so you have the untouched original with a saturated layer added on top. This is what makes Spek work well as a bus processor.
Auto trim and gain staging
Auto applies a fixed gain change equal to minus the Drive setting. It does not follow the audio envelope, so there is no pumping and no added latency. Push Drive up by 6 dB and Auto takes 6 dB back off, so what you hear is the change in tone rather than the change in level.
It cancels Drive and nothing else. Bias, Character and the shaper can still move the output level, so when the sound starts to come apart at high Drive you may still want to nudge the OUT trim a little in either direction.
Voicing: Classic, Warmer and Analog
Classic is a typical waveshaper curve, close to what you get in the Inflator, and it produces odd harmonics. Warmer is modelled on a diode and adds a second harmonic, so it leans toward even-order content. The two are level-matched, so switching between them does not give you a volume jump that tricks you into preferring one.
Analog is an extra layer that works with either mode. It is a different saturation algorithm, and I tuned it with a small tool I built for the job, because I am not a mathematician and it was far quicker to move numbers around by ear. It is less clean and punchy than the other two, with a slightly warm, tape-like character that is looser and woollier. In the video I solo the kick and bassline to demonstrate it, since the low end is where the difference is easiest to hear.
CLIP sits before the shaper. It changes the voicing of the saturation as the signal goes in, rather than acting as a safety limiter at the end of the chain.
Where I use Spek
On the master, which is where I use it most often. On Frequent Flyers I leave it close to default, enable oversampling and level-match against bypass. The mix sits a little further forward without anything obviously changing, which is what I want from a saturation plugin on a master.
On a drum bus, I turn oversampling on and add Character to punch the drums out and brighten them slightly, then level-match. With less dense material you may need more Drive than you expect before it bites, since there is less signal reaching the curve.
As a distortion. On Acid V with the resonance turned up, Auto trim lets me push Drive a long way into proper distortion without the level running away, and parallel mode brings the clean synth back in underneath.
Formats, trial and Veld
Spek runs as VST3 and CLAP on macOS and Windows, and as AU on macOS. The current version is 1.0.1. There is a free trial with no account or card required: open it in your DAW, choose Activate, and it runs with full features for a limited time. Offline activation with a licence file is supported. It was on an intro price at the time of recording.
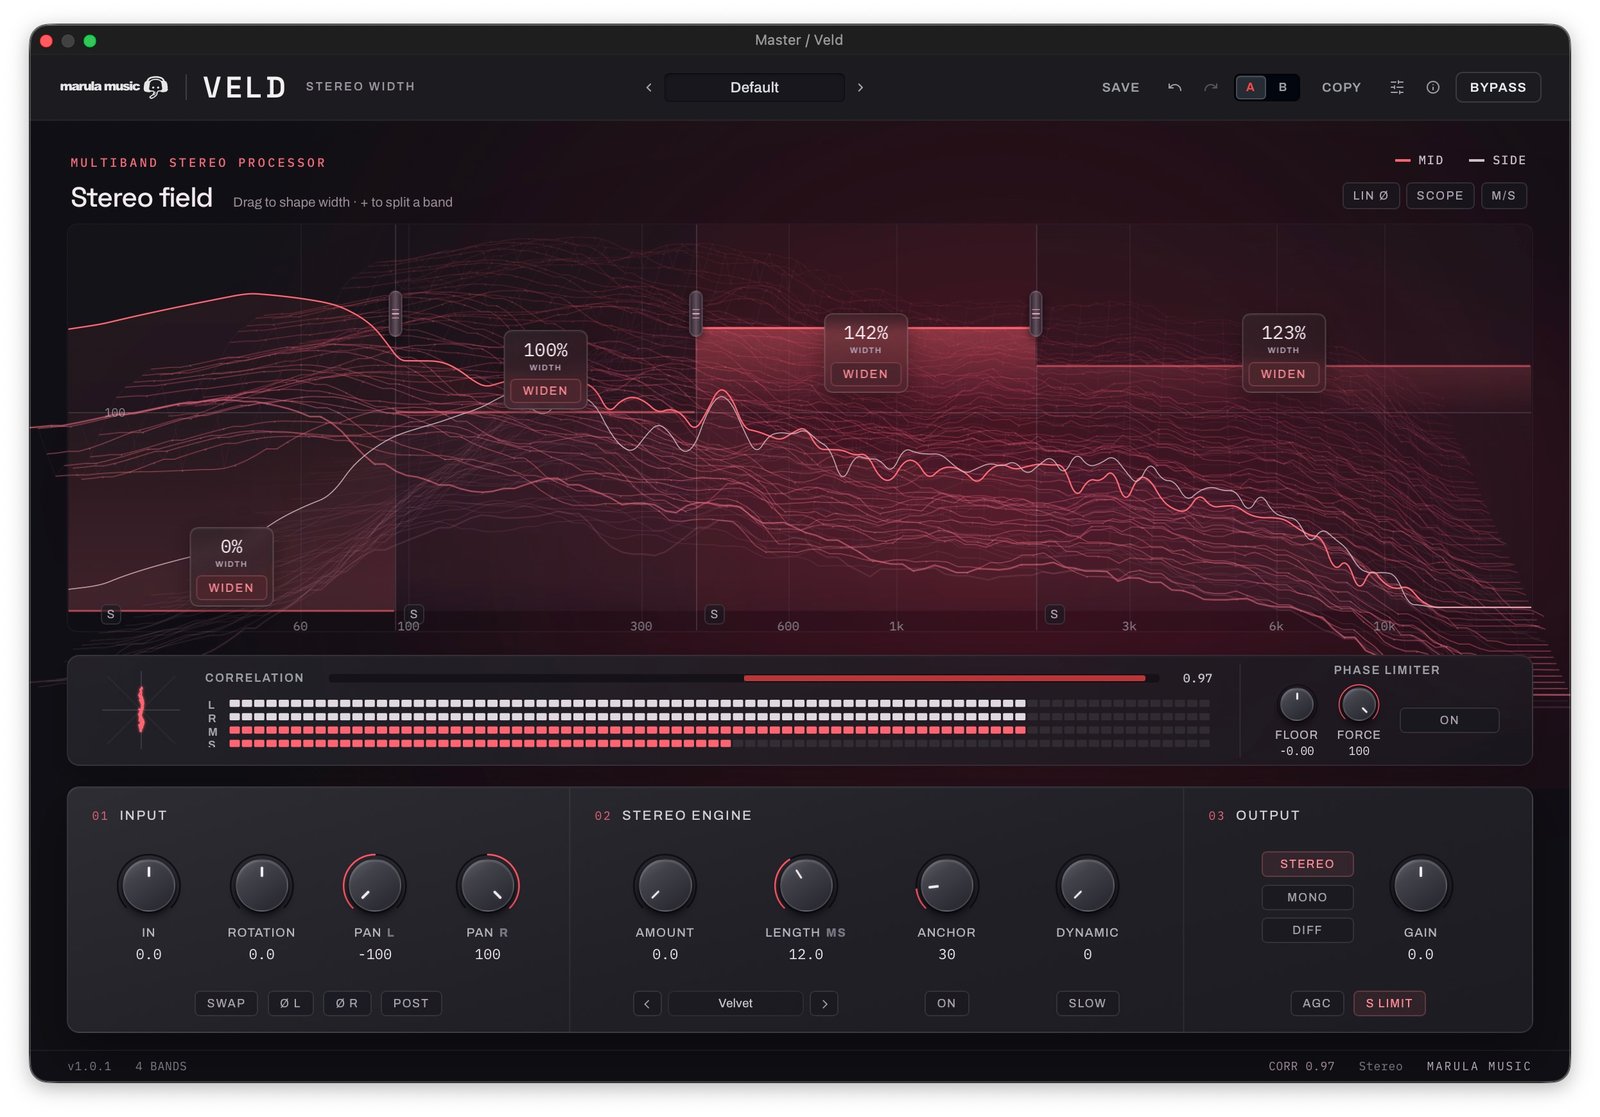
The stereo tool I show briefly at the end of the video is Veld, a stereo imaging toolbox, and it gets its own video next. Both names are Afrikaans, because I live in South Africa. Spek is bacon fat, and a veld is a wide open field.
FAQ
Is Spek an Inflator clone?
No. It started from the Sonnox Inflator, and Classic is close to that curve, but Spek adds oversampling, Bias and Filter, mid/side routing, parallel mode, Auto trim, the Warmer voicing, the Analog layer and pre-shaper clipping. If the original does everything you need, keep using it.
Why are there no presets?
Because the right setting depends on the source. A starting point for a master would be wrong on a drum bus.
What happens when the trial ends?
The plugin bypasses and passes your audio through unprocessed. It does not start making noise.
Who built it, and will it be supported?
I did. I have released music as Protoculture for about 20 years and have done sound design, beta testing and consulting for Native Instruments, Plugin Alliance, iZotope, Steinberg, Sonic Academy and u-he, among others. I do not come from a C++ background, so a lot of the six months went into building tools and processes to do this properly rather than one-shotting it. I intend to keep supporting it. I am a one-man show, so there will be bugs, and the bug report form on the product page goes straight into my issue tracker.
What are you building next?
I would like to tackle an instrument at some point, possibly using SPICE modelling or a grey-box approach on the Voyager in the studio. Nothing is decided, so tell me in the YouTube comments what you would want.
If you only try one thing with this saturation plugin, put it on a bus in parallel mode with Auto on and Bias toward the highs, then bring Amount up until you notice it and back it off slightly. If you want to follow the plugin work as it happens, the newsletter on the site is where I post it.